


 When you have a large family you have to buy a lot — and you end up throwing away a lot. I started feeling terrible throwing everything into one garbage can, knowing it would go to a landfill to sit for an eternity.
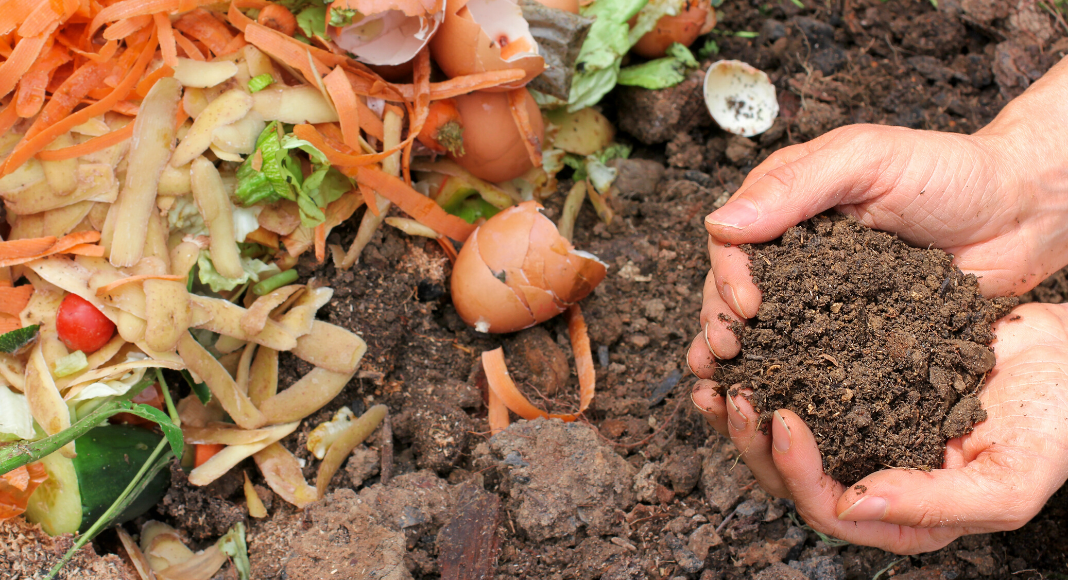
I wanted to give back to the earth. I want to leave a clean and better world for my children, not add to the destruction. But when fruits and vegetables sit in a landfill and degrade without oxygen, after a while they begin to emit methane gas — a greenhouse gas that traps in heat and aids in global warming.
Instead of all of your food waste going to a landfill, you can change this process by composting — a way of letting organic matter decompose gradually. Composting requires little effort and it is helpful to the environment. It can be used to add nutrients to your soil and you will never again have a need to buy chemical-filled fertilizers.
There are several ways that you can compost material. When you compost at home, you can use a pile or a bin. You can buy bins in several sizes, but I decided to go DIY by making a small compost bin. The method I used cost less than $6.
Step 1: Gather Your Compost Materials
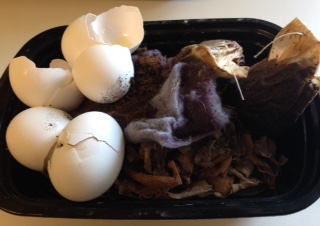
I started off by using a take-out container that I had saved. I stored it neatly in my kitchen and added to it as I made breakfast for my family, brewed coffee, skinned potatoes, and made tea. I was ready to commit to composting!
When you gather materials to compost, you want 1/3 to be green matter (materials high in nitrogen) and 2/3 brown matter (materials high in carbon). If the balance is off, your materials can rot instead of turning into rich compost — and that attracts flies.
- Greens: Garden waste, oats, grass clippings, egg shells, coffee grounds, tea bags, and fruit and vegetable waste. Some people prefer not to include citrus fruits in their compost because it raises the acidity.
- Browns: Dried leaves, sawdust, vacuum lint, dryer lint, human hair, pet hair, newspaper/ mail strips, nut shells, and shredded toilet paper and napkin rolls.
- What NOT to compost: Bones, blood, animal fats, any milk products, rice, weeds, walnuts, meat products, human or animal feces, diseased plants, oils, and bread products. These materials can spoil, carry disease or mold, or attract pests.
Step 2: Choose a Bin
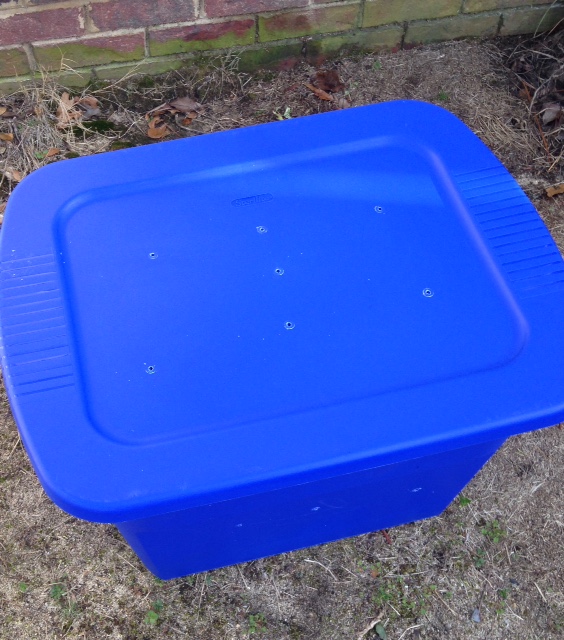
I bought a Rubbermaid bin from Walmart for less than $6. Any large plastic container with a lid will work for this project. You can even use an old trash can — it just has to have a lid. (You may want to consider using a blue, gray, or brown container. Hot pink could be a little flamboyant for your backyard.)
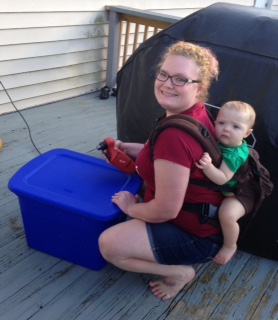
Step 3: Prepare the Bin
Drill holes into all sides of the container, so that air can flow throughout and the compost will decompose properly. Babywearing and shoes are optional.
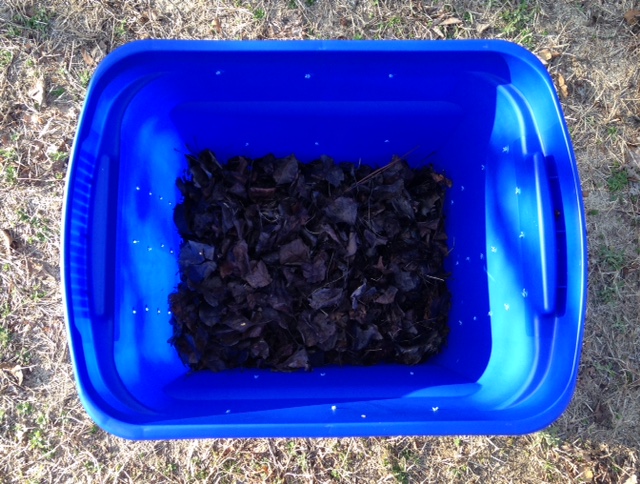
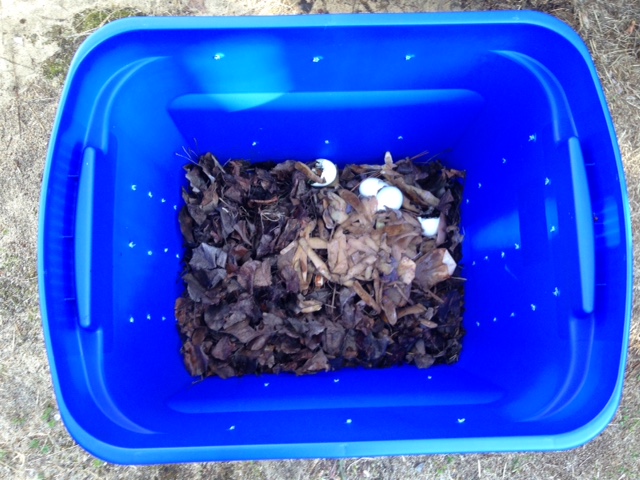
Step 4: Add the First Layer of Browns
Add some paper pieces, newspaper, or leaves to the bottom of your container. You want to make sure that your compost is always damp (not soaking wet), to help it break down properly.
Step 5: Add Green Material and Stir
I then added my kitchen scraps to my container and stirred the contents. You need to stir your compost at least once a week so that it can break down. Remember, when composting you want your bin to include 1/3 green matter and 2/3 brown matter. If you need to rake a small pile of dried leaves and add it to your pile to achieve this mixture, go ahead!
Step 6: Find a Home for the Bin
I then placed my compost container in a shaded area in my backyard. Your compost pile/container should not be housed in direct sunlight because the heat can cause it to dry out. Again, the compost needs to stay moist so that it can decompose.
Step 7: Let the Compost Cook
I check on my compost bin several times a week. This is usually when I am adding to it. If it is dry, I get a cup of water and pour it over the pile and shake the bin. My compost bin breaks down in 1-2 months, though it can take longer depending on the weather, what you add to it and how often you stir it. When my pile is completely broken down, I will spread the compost in my small garden.

Resources for Learning More About Composting
- Department of Health and Environmental Control (DHEC): www.scdhec.gov/compost, or call the Office of Solid Waste Reduction and Recycling at (800) 768-7348
- Clemson Cooperative Extension: Offices in Lexington and Richland counties can offer information about composting
- Environmental Protection Agency: This site contains information about composting in South Carolina and around the country.


Ohhhh! Can you use old, fallen pine needles as brown matter? We have a ton in our yard from a neighbor’s tree.
Yes, you can. Also, pine needles are acid and can take longer to breakdown.